Installing a new battery helps to assure your riding mower is running at peak performance and efficiency. Watch this video to learn how to change the battery in a Cub Cadet riding lawn mower. Depending on your mower model, the instructions in this video tutorial may vary slightly from the directions in your operator's manual.
INSTRUCTIONS
Step 1: Prepare your riding mower for maintenance. Place your mower on a flat, level surface. Turn the mower off and make sure the engine is cool. Remove the ignition key, engage the parking brake and disconnect the spark plug wires. This helps ensure the machine doesn't start accidentally and cause you or those around you harm.
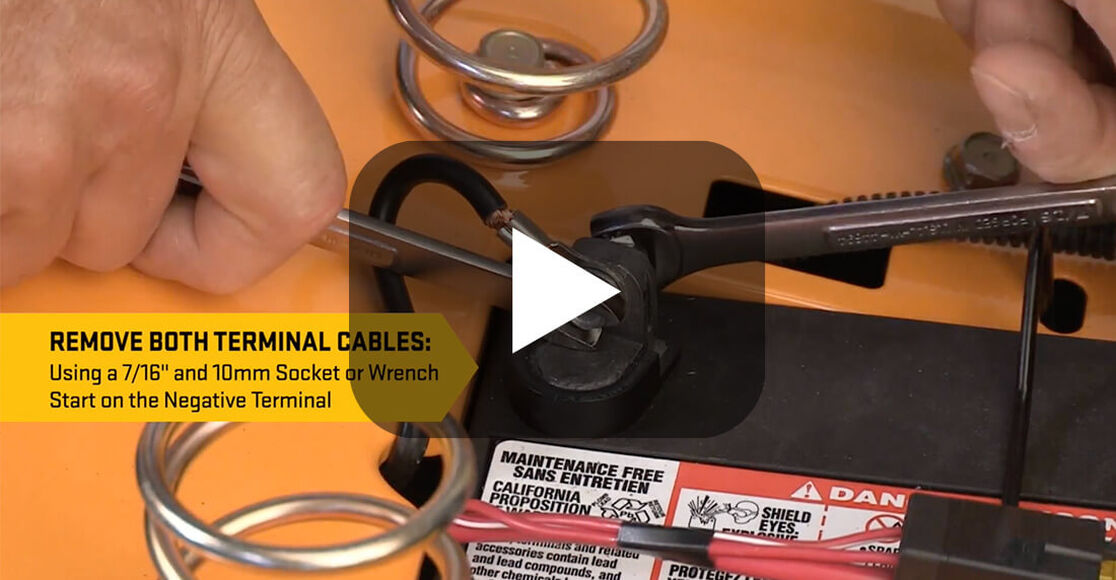
Step 2: Remove both terminal cables. Use a 7/16” and 10mm socket or wrench. Start with the negative terminal.
Step 3: Remove the nut and slide the negative cable off the battery. Screw the nut on the bolt to keep the hardware together on the cable.
Step 4: Slide the red protective cap away from the positive terminal.
Step 5: Remove the nut and slide the positive cable off the battery. Screw the nut on the bolt to keep the hardware together on the cable.
Step 6: Remove the battery hold down rod. Press the battery hold down rod to release tension. Note the orientation of the battery before removal.
Step 7: Remove the battery. Pull the battery up and out of the rider.
Step 8: Install a fully charged replacement battery.
Step 9: Press and latch in place the battery hold down rod.
Step 10: Reconnect the positive battery terminal. Use the 7/16” and 10mm socket or wrench to tighten the bolt and nut. Slide the red cap over the terminal.
Step 11: Reconnect the negative battery terminal. Use the 7/16” and 10mm socket or wrench to tighten the bolt and nut.
Step 12: Reconnect the spark plug wires and start your riding mower.
Battery Tips:
After the mowing season store your battery in a cool, dry place.
After long periods of storage, recharge the battery at a maximum of 10 Amps.
Always use genuine OEM replacement parts when servicing your equipment. Use our parts finder to locate and order any replacement parts you may need for maintenance. Refer to your owner's manual for additional maintenance information.
